Vicktory Farm & Gardens’ CFO said that I had better get to posting if I want to see any more funds come my way for my pet projects.
And he wanted the post to be about him. So here you have it, the latest Dirt miracle.
How We Form A Garden
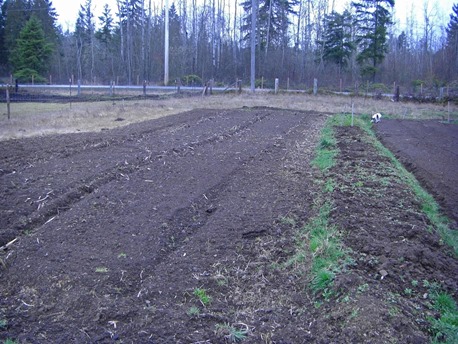
Here at VF&G it is hard to find a garden that isn’t done up in a raised wide bed method of gardening. The main Market Garden is all raised beds, sixty 50′ x 4′ wide beds. The first half of the Market Garden was put in the spring of 2010 with a walk behind tiller and many flat shovels, following the method of how we have done all gardens since before I was we. Various lengths, various orientations to N-S-E-W but nearly all 3-4’ wide.
I cannot imagine all the hours we have spent over the years carefully crafting new beds and then reshaping beds after tilling under manures, crop residue, or just changing for aesthetics. But it is always worth it. After 40 years of gardening, I know beyond a shadow of a doubt that I can get far more production out of a garden done up in raised beds than the same square footage done in conventional single row or even wide row method. I can work the soil sooner, plant sooner, weed if I want to easier and the plants seem healthier and more productive.
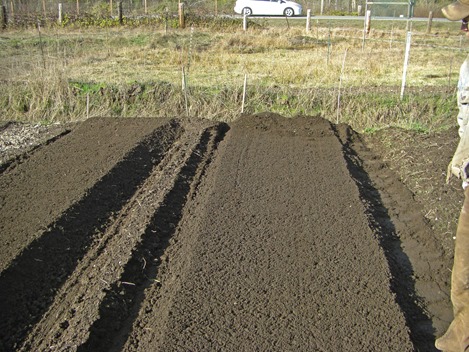
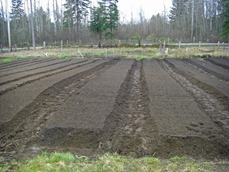
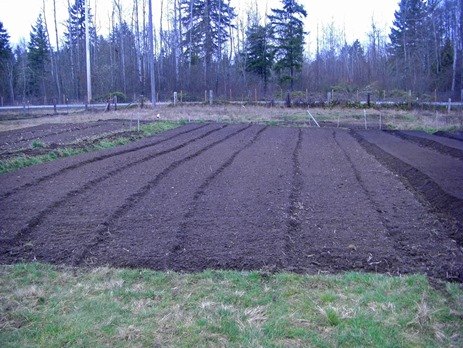
Whether a walk behind tiller was used or my new wonderful Lil’ Orange Tractor that Dirt bought me in June of 2011, a garden ready to turn into beds would look something like the left part of picture above. Side note: On the right is this last year’s parsnip bed. The stick at the far end marks where the last ones were harvested, we still have about six feet of parsnips to liberate and eat.
Typically stakes are put in on both ends, connected by lovely reused orange bailing twine or a 48” lath strip is moved along as a marker, and the path digging begins.
The Problem
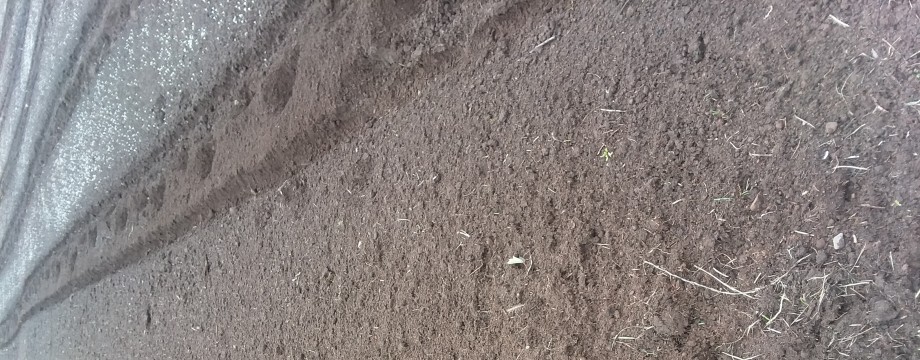
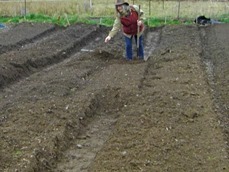
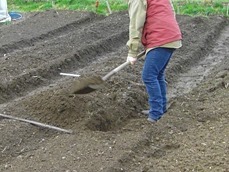
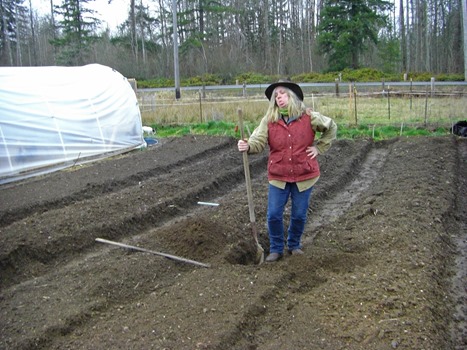
The other day, when I wanted to know how long it takes me to do up a rough formed bed (because after that comes the raking), I timed it. It took one hour of focused carefully paced work to complete the two paths on either side of a bed.
But it took all day, due to breaks and break downs and random interruptions, for me to nearly finish enough paths to make four beds ready for raking (rain and dinner caused me to leave the little bit of path you can see in the photos above.
Did I mention I’m old and getting older, with less free labor living at home and a desire to do more than make beds? And even though I carefully took over thirty minutes at the beginning of the day and ten each time I went back after a break, to gently stretch my shoulders, I spent the next two nights moaning and tossing in bed like a dying sheep.
The Vision
One evening, when I should have been writing a post or learning more Photoshop or Excel techniques, I found a video that showed a homemade attachment on the back of tractor tiller (a small tractor like mine) and the attachment took the loose flopped soil and formed it into these beautiful wide beds with a path in between.
I’ve known for quite sometime that there were tractor attachments that went on ginormous tractors and made essentially several wide rows behind the enclosed heated, stereoed-up, cabbed tractor, Skagit Valley tulip farms are fraught with them. But to have such a thing make my kind of garden bed, behind my kind of tractor that isn’t the size of my entire garden, oh the joy, and to see how simple it was, why hadn’t we thought of it five backs back?!
The fellow’s homemade implement in the video wouldn’t have worked for our situation, his beds were only 32” wide, and hardly a foot between, not how I like to garden, but it sure was close. Dirt took a quick look at this fellows work, and a few others I found on YouTube. Then Dirt studied my tiller in operation and went about making a simpler and therefore more beautiful attachment that made beds to our specifications. Knowing of course some tweaks would need to be made before it was finalized.
The Solution Realized
First off are the bed forms. The tiller itself nearly makes a formed bed. But about a foot wider than my optimum four feet. So even when I’m tilling over an already formed bed, like when I have a green manure crop to till in, or I just want to till in crop residue and start back over with a nice seed bed, I either live with too wide of a bed for my arms to reach center, or I pull in the edges with a rake or shovel and rake.
So the soil coming out of the tiller box needed to be narrowed to four feet instead of fifty-eight inches somehow.
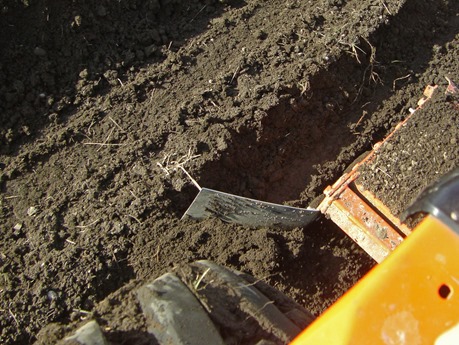
This grey piece of metal that my left hand is on that Dirt attached to each back side of the tiller box, shoves the tilled soil in the extra six inches each side and the pre-existing tiller flap that I’m holding up flattens it.
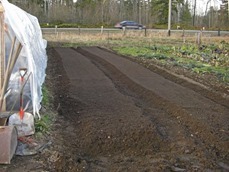
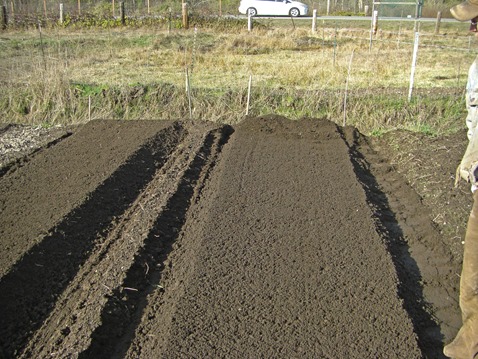
This is the view from my seat on the tractor as I was tilling with the new attachments in place. If you look close you can see the stakes at the end of the beds that mark the four foot bed and the two foot path in between. It is clear to see that even though the bed looks awesome there is still some beautiful carrot growing soil that is getting left behind in the path. That’s why this is the prototype.
From my seat again while tilling, this is the part of the Tiller Hiller (which is real fun to say but not really what it is) that pulls the excess soil from the path into the tiller box. Clearly its reach is not long enough and what you can’t see is, that for a freshly tilled over area, it isn’t deep enough either. That is going to be remedied.
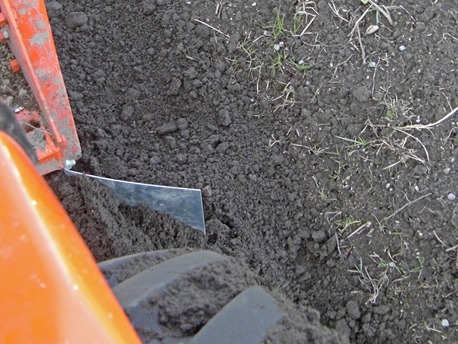
The view from the other side. It appeared that this “sweeper” wasn’t as long as the other but what “we” didn’t know was that the tiller box doesn’t actually sit center of the tractor. It makes accurate lining up on a bed a little difficult but you learn to adjust when you’re tilling up sixty beds. But now that the precision mechanic is involved I will most likely get my tiller box adjusted to the center.
To compensate for the short sweeper and still have fun getting beds done that first afternoon, Dirt walked behind the tiller, scooping up the excess soil from the path and tossing it into the tiller box in front of the tines. I tried to relieve him at one point but I couldn’t keep up. After we switched back I noticed why, besides being a girl, I was scooping far deeper into the path than he was. Waste not, want not. I’m also the cook that tries to get every drop of batter out of the bowl and off the spatula and into the baking tin.
What was amazing, even with me driving the tractor a little slower than I would normally, to allow Dirt to move the soil in, we still set up nine beds for planting in a third of the time that it took me to make paths for four beds. And remember how smooth the bed was “raked” right behind the tiller?
That would have been another thirty minutes per bed at the very least, and it would not have been so beautifully ready for marking, furrowing and seeding or transplanting as this bed is.
Trust me, although my girls always knew that is what I meant when I said I wanted the beds raked out smooth, even I could never have raked them up that nice.
One More Teensy-Weensy Problem
We did walk out of the garden that evening with a bit of a disappointment, or so we thought.
The six beds that will be going here including the current parsnip bed to the left of the picture is slated for tomato production. It will be the first time I will be moving away from a four foot wide bed.
I watched and marveled at a video on basket-weave trellising tomato plants as they grow. It makes a tomato hedge and so the beds would need to be two feet wide not four feet. I figured it all up and taking two 4-foot beds and turning them into three 2-foot beds, I only lost a few plants worth of space. Well worth the ease of trellising the tomatoes instead of staking and saving half the crop from rotting on the ground. So I’m going to try it this year, but that means instead of the four 4’ wide beds I was going to make, I now need six 2’ wide beds. And me with a tiller that makes these perfect four foot wide beds.
The mental agony of thinking about having to hand dig those five paths and hand rake the six beds, now that I don’t have to for the other beds, killed me. Until I slept on it and looked at it again. The idea came from when Dirt and I first headed out to the garden to try his handy-work out.
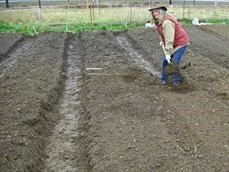
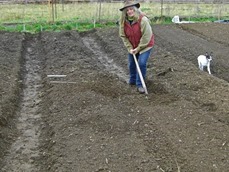
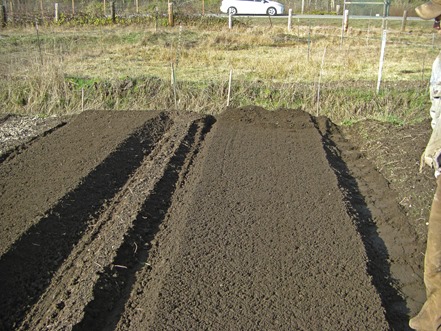
If you look at this picture of the first bed we made with the new attachments, you can see that there is an un-tilled bed right behind Dirt. It won’t be tilled up for quite sometime as it already has a pea crop growing in it from a fall planting. I had carefully tilled right up to its edge about a month ago to prep this area for spring planting cole crops. After all I was just going to shovel out the path like I have done for forty years. But now with the attachment, in order to “sweep” the loose soil from next to the bed behind Dirt, he had me go right up to the edge, moving the soil westerly, then again, until my bed edge lined up with the proper stake.
With that in mind I solved my tomato bed and laziness issue. I’ll just carefully take a swipe with the tiller so that the “sweeper” is right up against the edge of the first two foot tomato bed and work on over until all the tom beds are done! Ta Da. In my head it works perfect, ran the idea by Dirt, he agreed that in theory it should totally work, I will be tilling some of the soil several times, something I hate doing but… there is that spot where two interests intersect, optimal healthy soil and optimal healthy back.
The attachment? A labor saver and a time saver? Oh boy you betcha! The only problem that remains, I can see that from the seat of my tractor I envision more gardens being put in!





Your Dirt is a clever fellow – I think that is what so many people don’t know they are losing – the ability to “figger it out” – terrific looking planting beds and anything which is even a little labor saving in farming is a stupendously great idea!
Why didn’t he think of it years ago?? My husband was always coming up with labor saving devices too..his best was using a cement mixer to mix potting soil…it worked wonderful! Your beds look great so smooth..now if they could be weed free all summer! You are looking good there Miss Lanny..not old at all..everytime I get down like that on my haunches I have to find something to grab onto to help me back up:)
wow! they are beautiful! and so are you, i don’t remember seeing a photo of you before…
smiles, bee
xxoxoxooxox
It’s amazing what a little ingenuity and experimentation can accomplish! This looks like a wonderful time and labor-saving device. I’m glad to hear it will make it much easier on your back too.
Well I am totally impressed-but I usually am by you : ) It all looks so good-and we haven’t even cleaned the garden from last year LOL!